Tiling is made right after the pipeline’s installment, mounting the bath and the door. If the bathroom panel is finished with tiles, this bathroom panel is occasionally equipped with a door for having accessibility to the bathwater drain. Yet it is extra preferable to make a removable hatch, using magnetic nabs as fasteners (instead of solid ones as well as not less than four items of them).
If there is restroom equipment in the area currently, it should be covered with covering sheets, cartons, etc. The bath is usually covered with plywood (10-15 mm thick) or a woodchip board, to protect it from accidental autumn of rubbish and for having support for a pail with glue solution, tools, or ceramic tiles. If the floor is already tiled, it is required to cover it, too. It is much better to have a wet duster with you for cleaning unclean floor tiles or hands.
The joint dimension (between the floor tiles) depends on the ceramic tile’s high quality (edge roughness) and aesthetic demands. Seams are generally 1,5-3 mm large, for ceramic large-size ceramic tiles – 5 mm. Making use of floor tile spacing fixes is helps you to preserve also spacing in between the ceramic tiles. Do not ceramic tile the entire wall in one day, as it needs to have time to secure strongly to the wall surface.
If you are preparing to use different additional ornamental information, such as boundaries or insertion of the tile with patterns, it is necessary to specify its place on the wall. For ending up of external and inner corners unique plastic angle bars can be applied. They make edges look much more eye-catching. Versatile bar guarantees the best consistency with a wall surface or flooring tiles. When getting plastic angle bars, one needs to select them to make sure that the groove size would surpass tile thickness.
Installing of new walls: block, moisture-resistant gypsum-plaster, or foam concrete. Setup of ventilation. Cable bonding, water and also sewage system pipes layout, replacement of the towel drier (it is advised to make an identical by-pass path to have the opportunity of emergency shutoff from the warm water main and also setting a round lock shutoff in case of failure). Establish different valves on the hot water pipes, likely to the flush storage tank as well as a washing machine. Placing the incorrect ceiling with the integrated illumination installation. Water-proof covering. Plastering. Wall surfaces tiling. Installation of the bathroom. Installation of the restroom tools. Floor tiling. That is all. At this moment the bathroom remodeling is completed.
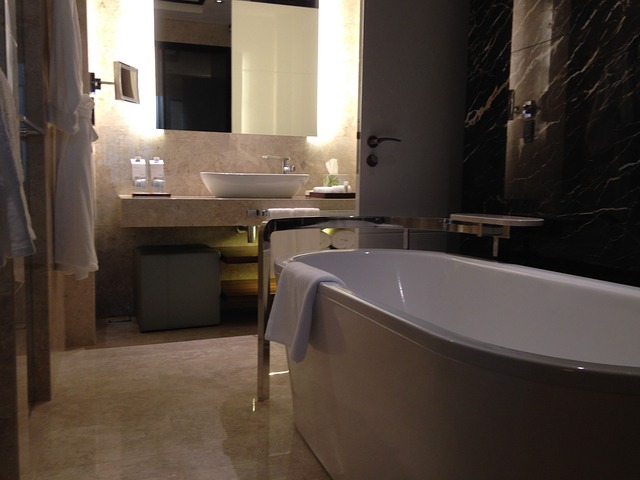
For a tiny restroom, it is feasible to select the particularly industrialized programs, mini shower room equipment, inhabiting less space. There is a special doll’s home result when everything appears bigger relative to the reduced items.
Work high-quality criteria.
Floor tiles need to be led purely vertically, all tile obstructs need to be located at the exact same degree. Overhanging or sinking down of one block side comparatively with another is unbearable. There should be no hollow rooms under the tile obstructs. Space in between the tiles needs to be equivalent everywhere. The tile joints need to fit one another as well as form a straight line (purely on the level). Tile patterns ought to be matched. The room between the floor tiles ought to be correctly grouted. Head over to this link for more tips on remodeling your bathroom, https://thismakesthat.com/how-to-your-wet-room-clean/.